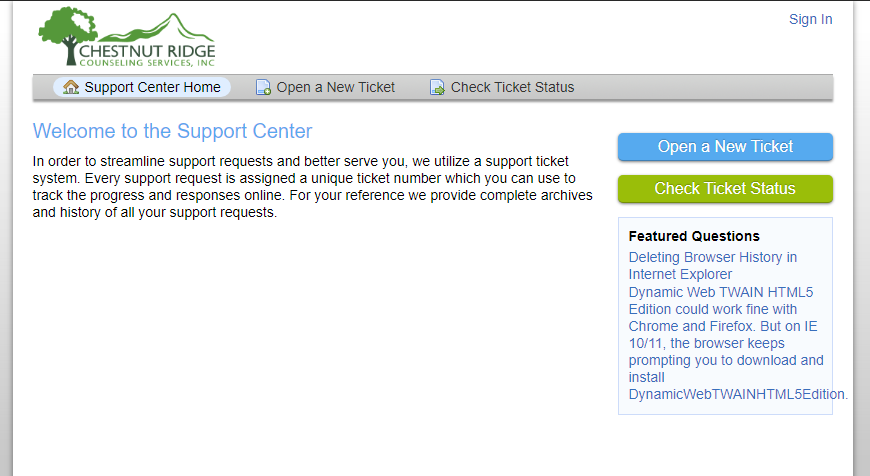
Click below to navigate to the following resources.
- Teams Procedures
- Creating a meeting in teams
- Client’s Experience and Instructions Joining Their Teams Appointments
- Installing teams (staff with tablets and staff using personal computers only)
- Submitting a Helpdesk Ticket
- Connecting to the CRCSI network via the SonicWall NetExtender (to access messenger and eforms)
- Accessing Your CRCSI Email From Home
We also have made instructional resources for our clients
View client resourcesChecking Voicemails Remotely
Teams Procedures
Adding additional staff members to an in-progress Teams meeting
When dialing a person to bring them in to a meeting in Teams, be aware that the phone number will display in Teams for participants to see. When conferencing in employees of the agency, do not add them by their phone number. Type their name and add them that way. All employees must use Teams to participate in Teams meetings in order to preserve phone number privacy.
Phone and Telemedicine Visits – Credible and Signature Exceptions
CRCSI clinical staff providing services using telephone or telemedicine are to document the services in their Credible visit. When completing the telephone or telemedicine visit, the clinical staff is to write in client signature box, “signature exception”.
Creating a Meeting with a Client in Teams
Below is an instructional video on how to start a meeting, invite the client, and conduct the meeting in Teams.
Text Instructions
The following are text instructions for the above video.
- Go to the “Calendar” tab in the left-hand sidebar of Teams.
- Click on “+ New Meeting” in the upper right-hand corner.
- Enter meeting details. The “Title” will appear as the subject line in the email that the clients receive. Add the client’s email in the attendee field. Ensure that there are no spaces or “mailto:” at the beginning if you copied the email address. You will need to either click on the “Invite [email]” button that appears below or press enter on your keyboard to confirm the email address.
- If you are creating a meeting for an appointment, enter the start and end time of the appointment. If you are creating a meeting for testing purposes, these aren’t as relevant. You can join a meeting at any time, even if it is after the stated start and end times.
- Click “send” in the upper right-hand corner to create the meeting, send the email to the client, and add it to your calendar. The email will come from the CRCSI email address of the person who created the meeting.
NOTE: If the client is not seeing this email, have them check their spam folder or scroll down as it may get buried if sent a few days ago. You can send this link to the client again my copying the message in the meeting details body and pasting it into an email to the client. - To join the meeting, navigate back to your calendar (by clicking on the calendar button in the left-hand sidebar) and click on the meeting time slot that you would like to join.
- Once the meeting details page loads, click on the “Join” button in the upper right-hand corner of the screen to join the meeting.
- You will arrive at the pre-meeting screen. Here you will need to enable your microphone and (optionally) enable your camera. Click “Join now” when you’re ready to join.
- The client may be waiting in the waiting room once you join, to let them in you will need to open the participants pane by clicking on the people icon next to the hand up button, and allowing them to join the meeting.
Below is a short video covering how to quit and delete the Teams app on both iOS and Andriod.
Client’s Teams Experience
We also have made instructional resources for our clients – Please direct them to www.crcsi.org/meet
Clients can participate in Teams meetings on almost any device that has at least a microphone and speakers. This includes smartphones, tablets, iPads, laptops, and desktops. However, if their device doesn’t at least have a microphone and camera (which may be the case on many desktops) they will not be able to communicate using Teams and will need to communicate via phone.
How a Client Should Join a Meeting
These are text instructions for these device-specific videos.
- The client needs to locate the email invite that they received. This will be sent to the email that was entered into the attendee field when the meeting was created. If the client is not seeing this email, have them check their spam folder or scroll down as it may get buried. You can send this link to the client again my copying the message in the meeting details body and pasting it into an email to the client.
- They need to tap the “Join Microsoft Teams Meeting” link, the following steps will depend on their device.
Mobile Devices (phones, iPads, Android tablets): Tapping the link will take you to a web page where they can tap a link to download the app for free from the app store. They client need to follow that link and download the app. Apple Devices: the client will need to return to the email and re-tap on the meeting link. Android Devices do not need to follow this step. If everything is done correctly, the client should be in the Teams app with a “Join as guest button”. If they do not see this “Join as guest” button they need to try re-tapping on the link in the email, do not have them create an account.
Computers (Macs and Windows): Tapping the link will take the client to a web page where they can proceed to the web version of Teams. The client should proceed to the web version, they do not need to download the application on computers. - Once they arrive at the “Join as guest” screen, they should tap the button, enter their name, and tap “Join as guest” again under their name entry.
- When prompted, they should allow camera and microphone access.
- They will now be connected to their Teams meeting. The staff member will need to let them in from the waiting room. Normally the staff member is prompted to let them in but if not, they can be done from the participants list.
NOTE: On android devices, they will not see the camera button until they are let into the meeting by the staff member. If they still do not see the camera button, they may need to enable the permission, which is covered here in this video.
Installing Microsoft Teams
Below is an instructional video on how to install teams if you must do so manually. Only mobile users using tablets or their home computers must do this. Desktop computers at CRCSI offices do not need to undergo this process.
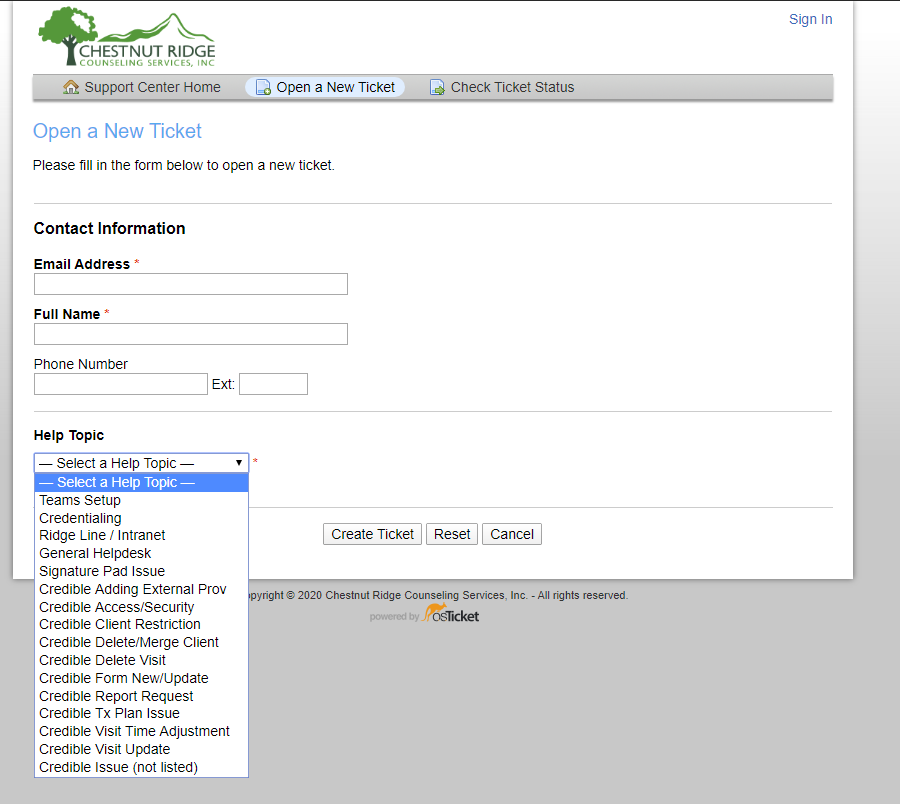
Submitting a Helpdesk Ticket
Go to https://helpdesk.crcsi.org or click on the button in Ridgeline, click on open a new ticket.
Enter in your CRCSI Email and CRCSI PC Password. Click on Sign In.
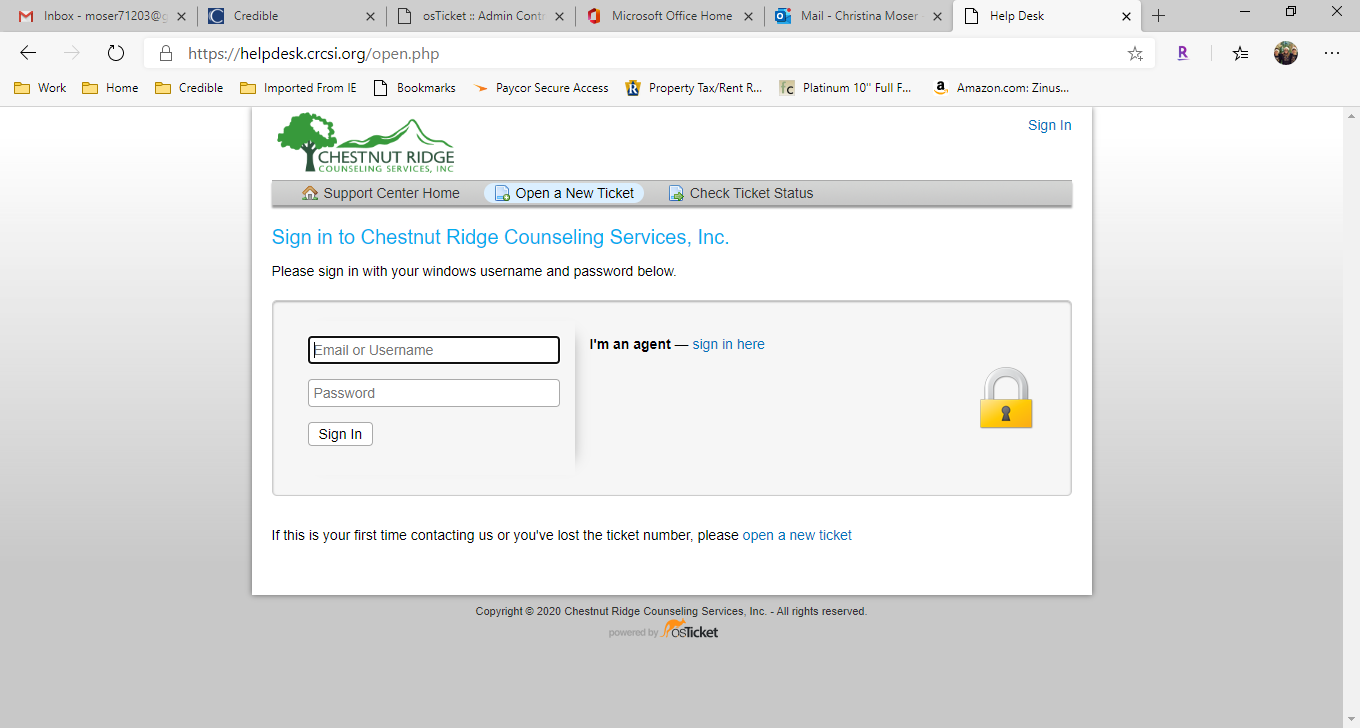
From the Help Topic selection dropdown, pick Teams Setup or Client Teams Issue and fill in all necessary information in the ticket description box then click on Create Ticket.
Download the PDF instructions here.
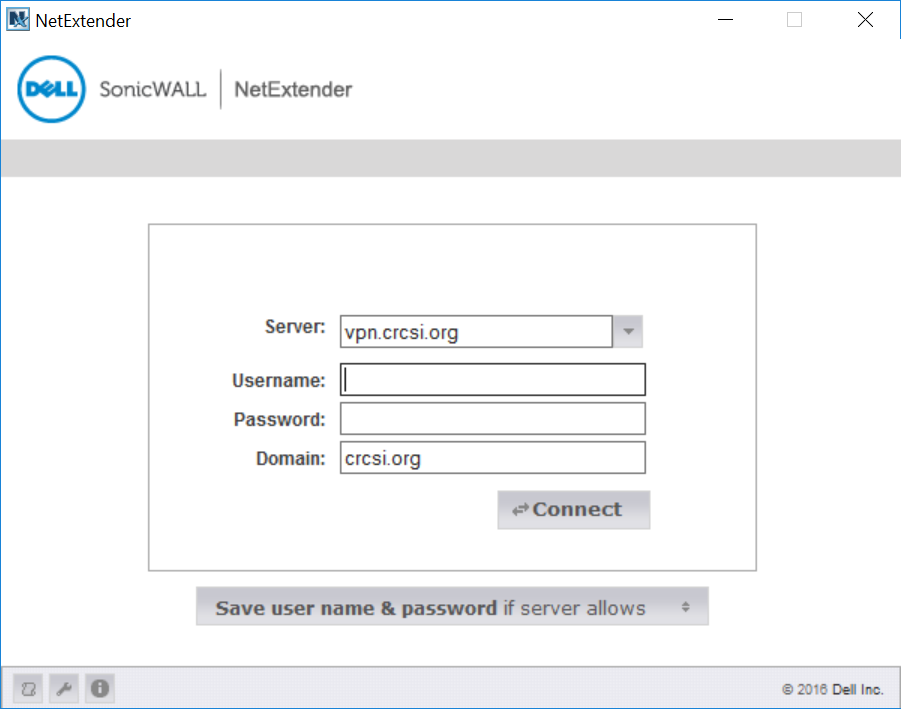
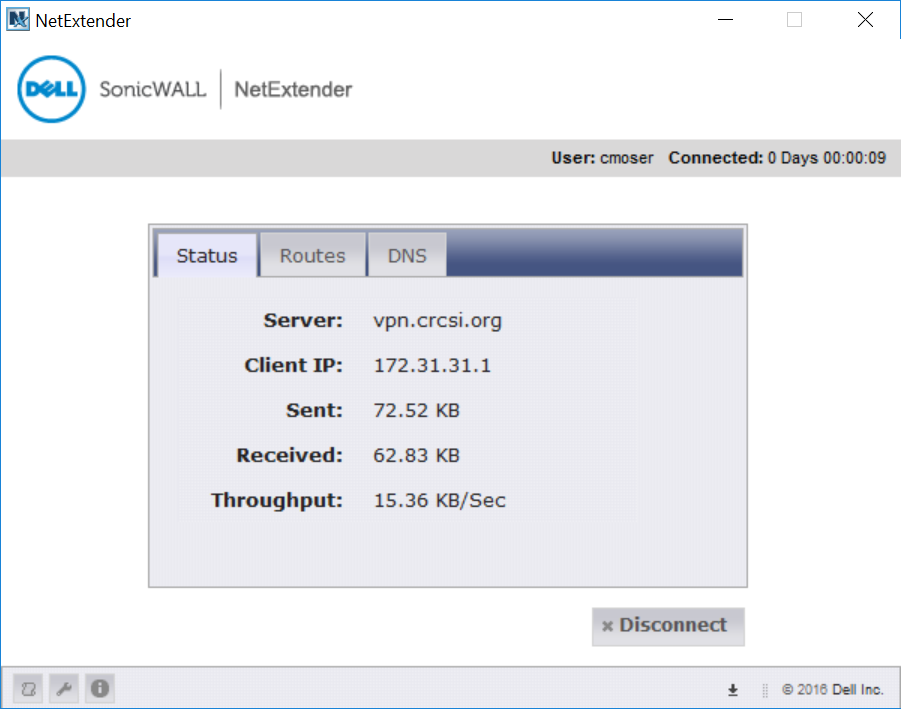
Connecting with the SonicWall NetExtender
- Double click on Dell SonicWall NetExtender icon on desktop.
- If your windows (computer) login is not prepopulated enter it and your Windows (computer) password. Then hit Connect.

- Once connected, you can close this window.
To Disconnect, just double click on Dell SonicWall NetExtender icon on desktop and click on Disconnect.
Download the PDF instructions here.
Accessing Webmail
As most users are aware the previous link to check CRCSI webmail no longer works. We have created a new external web link to access CRCSI webmail from outside of work.Please use the follow link to access CRCSI webmail or type in the following.
https://webmail.crcsi.org
Use you CRCSI windows login and password to access webmail.
Once again, this is for checking CRCSI email from outside of CRCSI network such as from home.
Checking email at work, login to windows workstation and open Microsoft Outlook.
You can also check your email using a new internal web link by opening internet explorer and use the following link or type in the following.
Use you CRCSI windows login and password to access webmail.
This is for checking you email from inside the CRCSI network not using Outlook.
Please save the link to your favorites for future use.
To encrypt any outside emails being sent that contain any HIPAA PHI – type into subject line of email:
Protected . This will encrypt the email through Barracuda spam filter. The user receiving the email for first time will need to set a password using the password button at botton of link sent.
Download this document here.
